Product Details
Features
Satisfaction Guarantee
Pressing Instructions
Click here to watch our step-by-step patch pressing tutorials.
To ensure your patch looks professionally pressed every time, follow these four simple steps.
- Position Your Patch: Being that your patch will be pressed facing down, touching the bottom plate, you will first need to secure the patch to your garment with Thermal Tape (heat resistant tape) to ensure it stays in its desired location when being placed on your heatpress.
- Load Garment Onto Heat Press face down: Now that your patch is taped in place, flip the garment over and place onto the heat press so the patch is facing downwards and touching the lower plate. This makes it easier to melt the low-melt glue on the back of the patch so that the patch will adhere to your garment. The goal is to melt the low-melt glue on the back of the patch, not the visible portion of the patch you’ll see when it’s adhered to the garment.
- Press: After laying the garment with the patch face down, lay a Protective Guard Sheet over it to protect your garment from the iron, then press for 20 seconds at 325°F with 70-80 PSI or hard pressure. After pressing, remove the garment from the press and allow it to cool for at least 30 seconds before removing the thermal tape. This allows the melted glue to solidify, thereby bonding it to your garment.
- For Thicker Fabrics (Hoodies, Jackets, etc.): If after following these instructions the patch isn’t adhering to your garment, it could be because the garment you’re using is made of thick material, such as a hoodie, jacket, etc. If this is the case, tape your patch to the garment and flip the garment inside out. Then, lay the garment onto the heat press so that the back of the patch is facing up. Lay a teflon sheet or parchment paper over the garment and press for 20 seconds at 325°F with 70-80 PSI or hard pressure.
Art Upload Recommendations
Care Instructions
Order Issues & Reprints
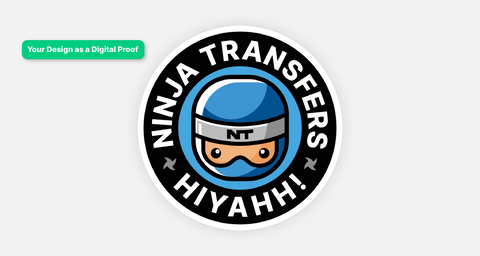
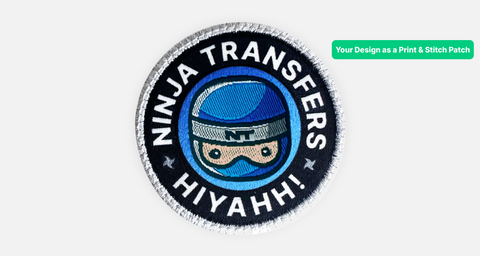
You Upload Your Design, We Turn it into a Print & Stitch Patch
FAQ
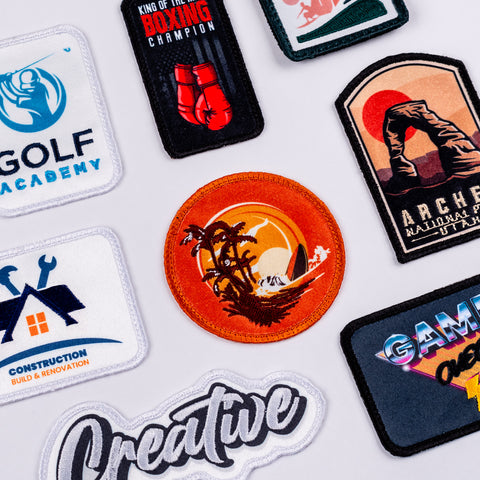
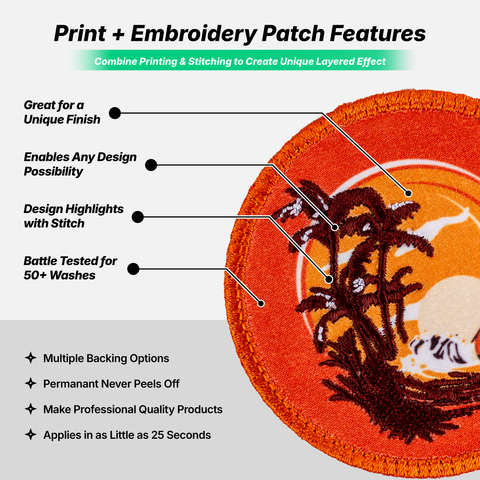
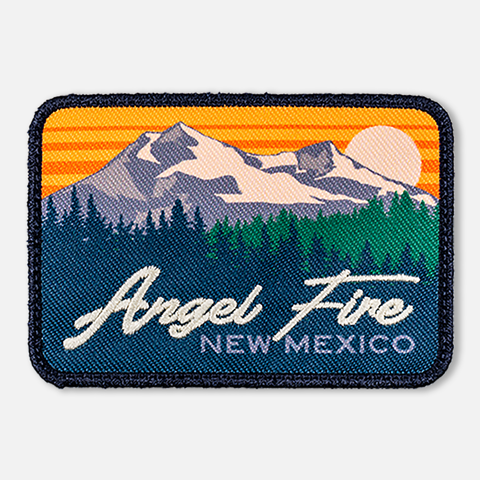
Print & Embroidery Patches, also known as print stitch patches, combine the sharp, colorful graphics of full-color printing with the texture and intricacy of traditional embroidery. These patches feature a printed background with added embroidery elements. With no limitations on fabric colors due to the sublimation process, the ability to add a full color photographic background, with depth and dimension due to the embroidery, they remain a popular choice for those with more intricate designs.
Unlike traditional embroidered patches, Print & Embroidery Patches allow for the inclusion of highly detailed, full-color images on the background. The combination of printing and embroidery creates a visually striking and texturally rich patch.
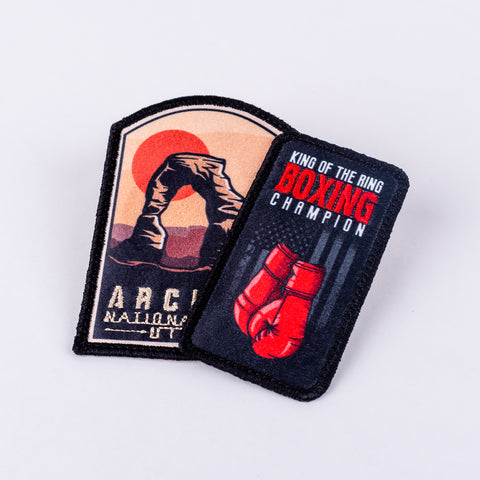
You can print almost any design on these patches, including photographs, logos, text, and complex graphics. The printing process allows for fine details and vibrant colors. This makes Print & Embroidery patches suitable for a wide range of purposes and applications.
Our Print & Embroidery Patches are customizable and can be made in various sizes to suit your needs. Common sizes range from small, intricate designs to larger patches for jackets or bags. Choose from 1” to 12” print stitch patches to suit your needs.
Yes, we offer the option to order sample patches. This allows you to assess the quality, colors, and design before committing to a larger order.
Yes, our patches are designed to be durable and long-lasting. They can withstand outdoor conditions and are ideal for use on uniforms, bags, and other items that may be exposed to the elements.
The minimum order quantity for our Print & Embroidery Patches is 25 patches. But remember, the higher the quantity, the more you save! You can save up to 70% when you order 1000 patches or more. View our pricing matrix in the product description above for more details.
There are two methods to attach these print stitch patches to your clothing or accessories. The most popular and longer lasting method is to use a heat press. The temperature and pressure required will vary depending on the garment you are applying to. View our pressing instructions for more details.
The second option is our peel & stick backing. This makes the patch suitable for one time use, without the need to iron or press to permanently bond the patch.
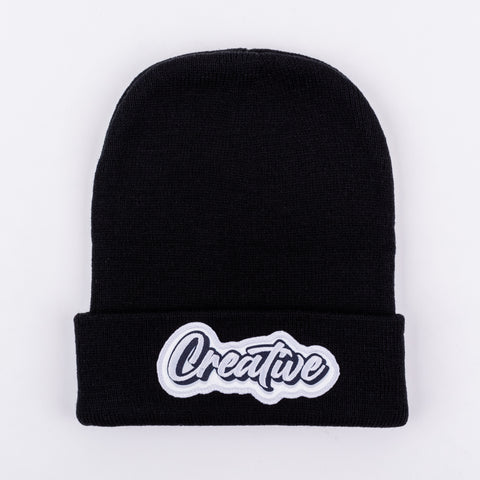
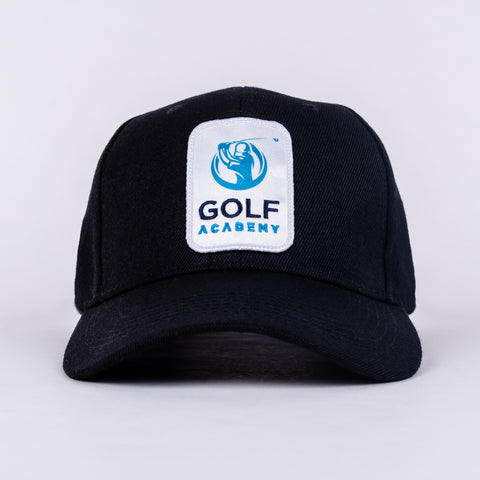
The attachment options are the same as many of our patch types. We recommend using the heat press option for print and embroidered patches to ensure longevity. You can heat press onto garments and hats. A top heat press can work well for garments, while top and bottom heat is recommended for hats.
You can also choose Peel & Stick or Velcro application options, which are typically more temporary.
At Ninja Patches, we pride ourselves on making premium products at the best possible prices. We deliver high quality patches, faster.
With the ability to save on higher quantity orders and the true flexibility and versatility of the print stitch patches we have on offer, there’s no better choice. Enjoy the combination of vibrant sublimation and the depth of embroidery with Print & Embroidered Patches, suitable for your every need.
Choose your size, shape, border, border color, tell us what elements you want print vs. embroidered, and upload your image - we’ll do the rest. Design your own Print & Embroidered Patches with Ninja Patches today.
As this patch type is a combination of our two most popular patches, we aim to make sure we’re as flexible as possible when it comes to the designs. These print stitch patches come with a printed background offering a full-color, photographic image. The stitch / embroidered part is added to give the patch some extra texture and dimension.
It’s important to note that the embroidered part of the patch should have no more than 15 different colors, and the sublimated part is unlimited.
The size of the print and embroidered patches will depend on what you are pressing on and the patch's location. We recommend the following:
- Hat Square/Circle Patch - 2 inches
- Hat Rectangle Patch - 4 inches
- Front Left Chest Shirt - 4 inches
- Sleeve - 3 Inches
- Back Neckline - 3 inches
This allows for even the most intricate designs to be visible.
With the embroidered part, there are some limitations in the level of detail - the embroidered section is generally there to add more depth and texture to the patch. However, the printed portion of the patch can be as detailed as you would like - in fact, they are often photorealistic, which offers a high level of intricacy.
